From Stain to Stunning: Your Guide to Interior Painting After a Roof Leak
There’s a huge sense of relief when you finally fix a roof leak. That persistent drip is gone, and your home is protected from the elements once again. But after the relief fades, you’re often left with an unwelcome reminder: an ugly, discolored stain on your ceiling or wall. It’s tempting to grab the nearest can of paint and cover it up, but that’s one of the biggest mistakes a homeowner can make. A proper repair is about more than just aesthetics; it’s about ensuring the underlying damage is fully resolved for a lasting, beautiful finish. As your local Jeffersonville experts, we’ve seen it all, from minor discoloration after a pop-up storm to more significant interior damage. This guide will walk you through the essential steps to correctly handle interior painting after a roof leak repair, ensuring your home looks as good as new.
Step 1: Certainty and Patience—Ensure Everything is 100% Dry
The single most critical step happens before you even think about paint. You must be absolutely certain that the source of the leak is fixed and the affected area—including the drywall, insulation, and wood framing—is completely dry. Painting over a damp surface is a recipe for disaster. Trapped moisture can lead to peeling paint, bubbling drywall, and, most concerningly, the growth of mold and mildew within your walls and ceiling. This not only ruins your new paint job but can also pose health risks and lead to more extensive, costly repairs down the road.
How long should you wait to paint after a roof repair? There’s no single answer, as it depends on the extent of the water exposure and the humidity in your home. It could take anywhere from a few days to a few weeks for the area to dry out completely. The surface should feel bone dry to the touch, with no cool or soft spots. For peace of mind, professionals often use moisture meters to get an accurate reading and confirm that the underlying materials are ready for repair.
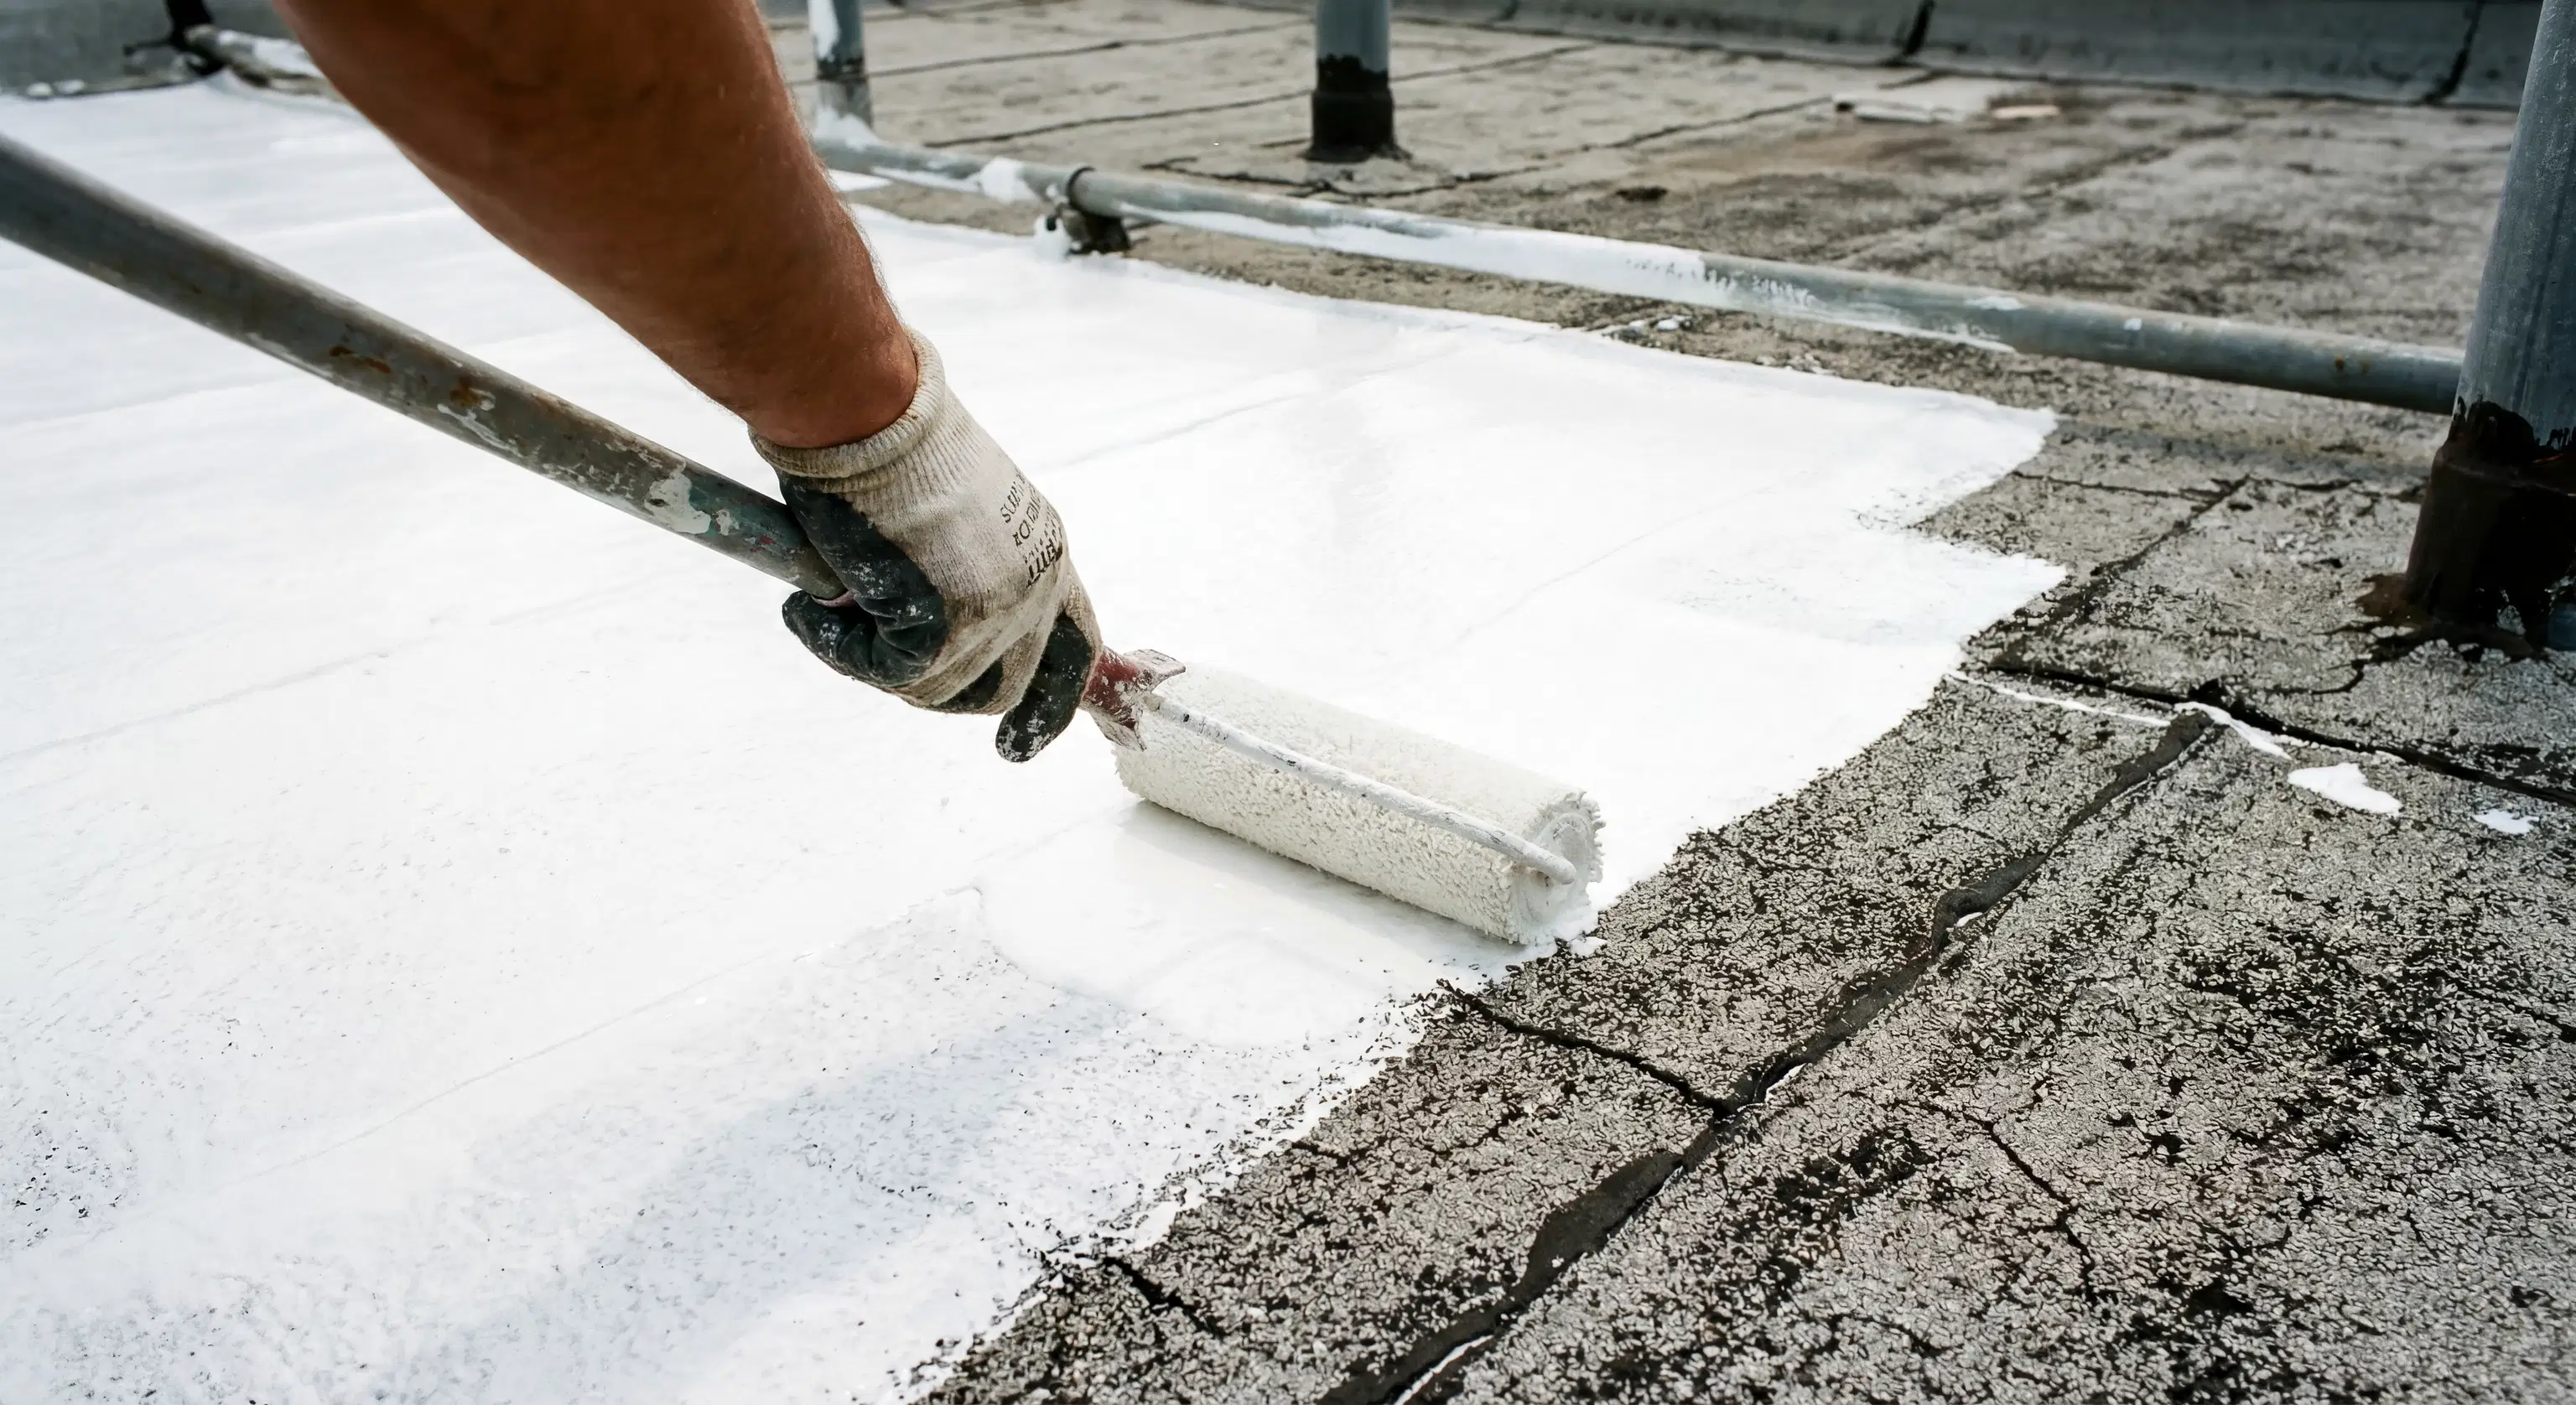
Step 2: Meticulous Prep for a Flawless Finish
Once you're confident the area is dry, the real prep work begins. This stage is what separates a professional-looking repair from a sloppy patch job. Rushing this process will almost guarantee the old stain will reappear or the repaired spot will be obvious.
- Clean and Scrape: Start by protecting your floors and furniture with drop cloths. Gently scrape away any loose, flaking, or bubbling paint from the damaged area. If the drywall paper is peeling, carefully trim it away with a utility knife.
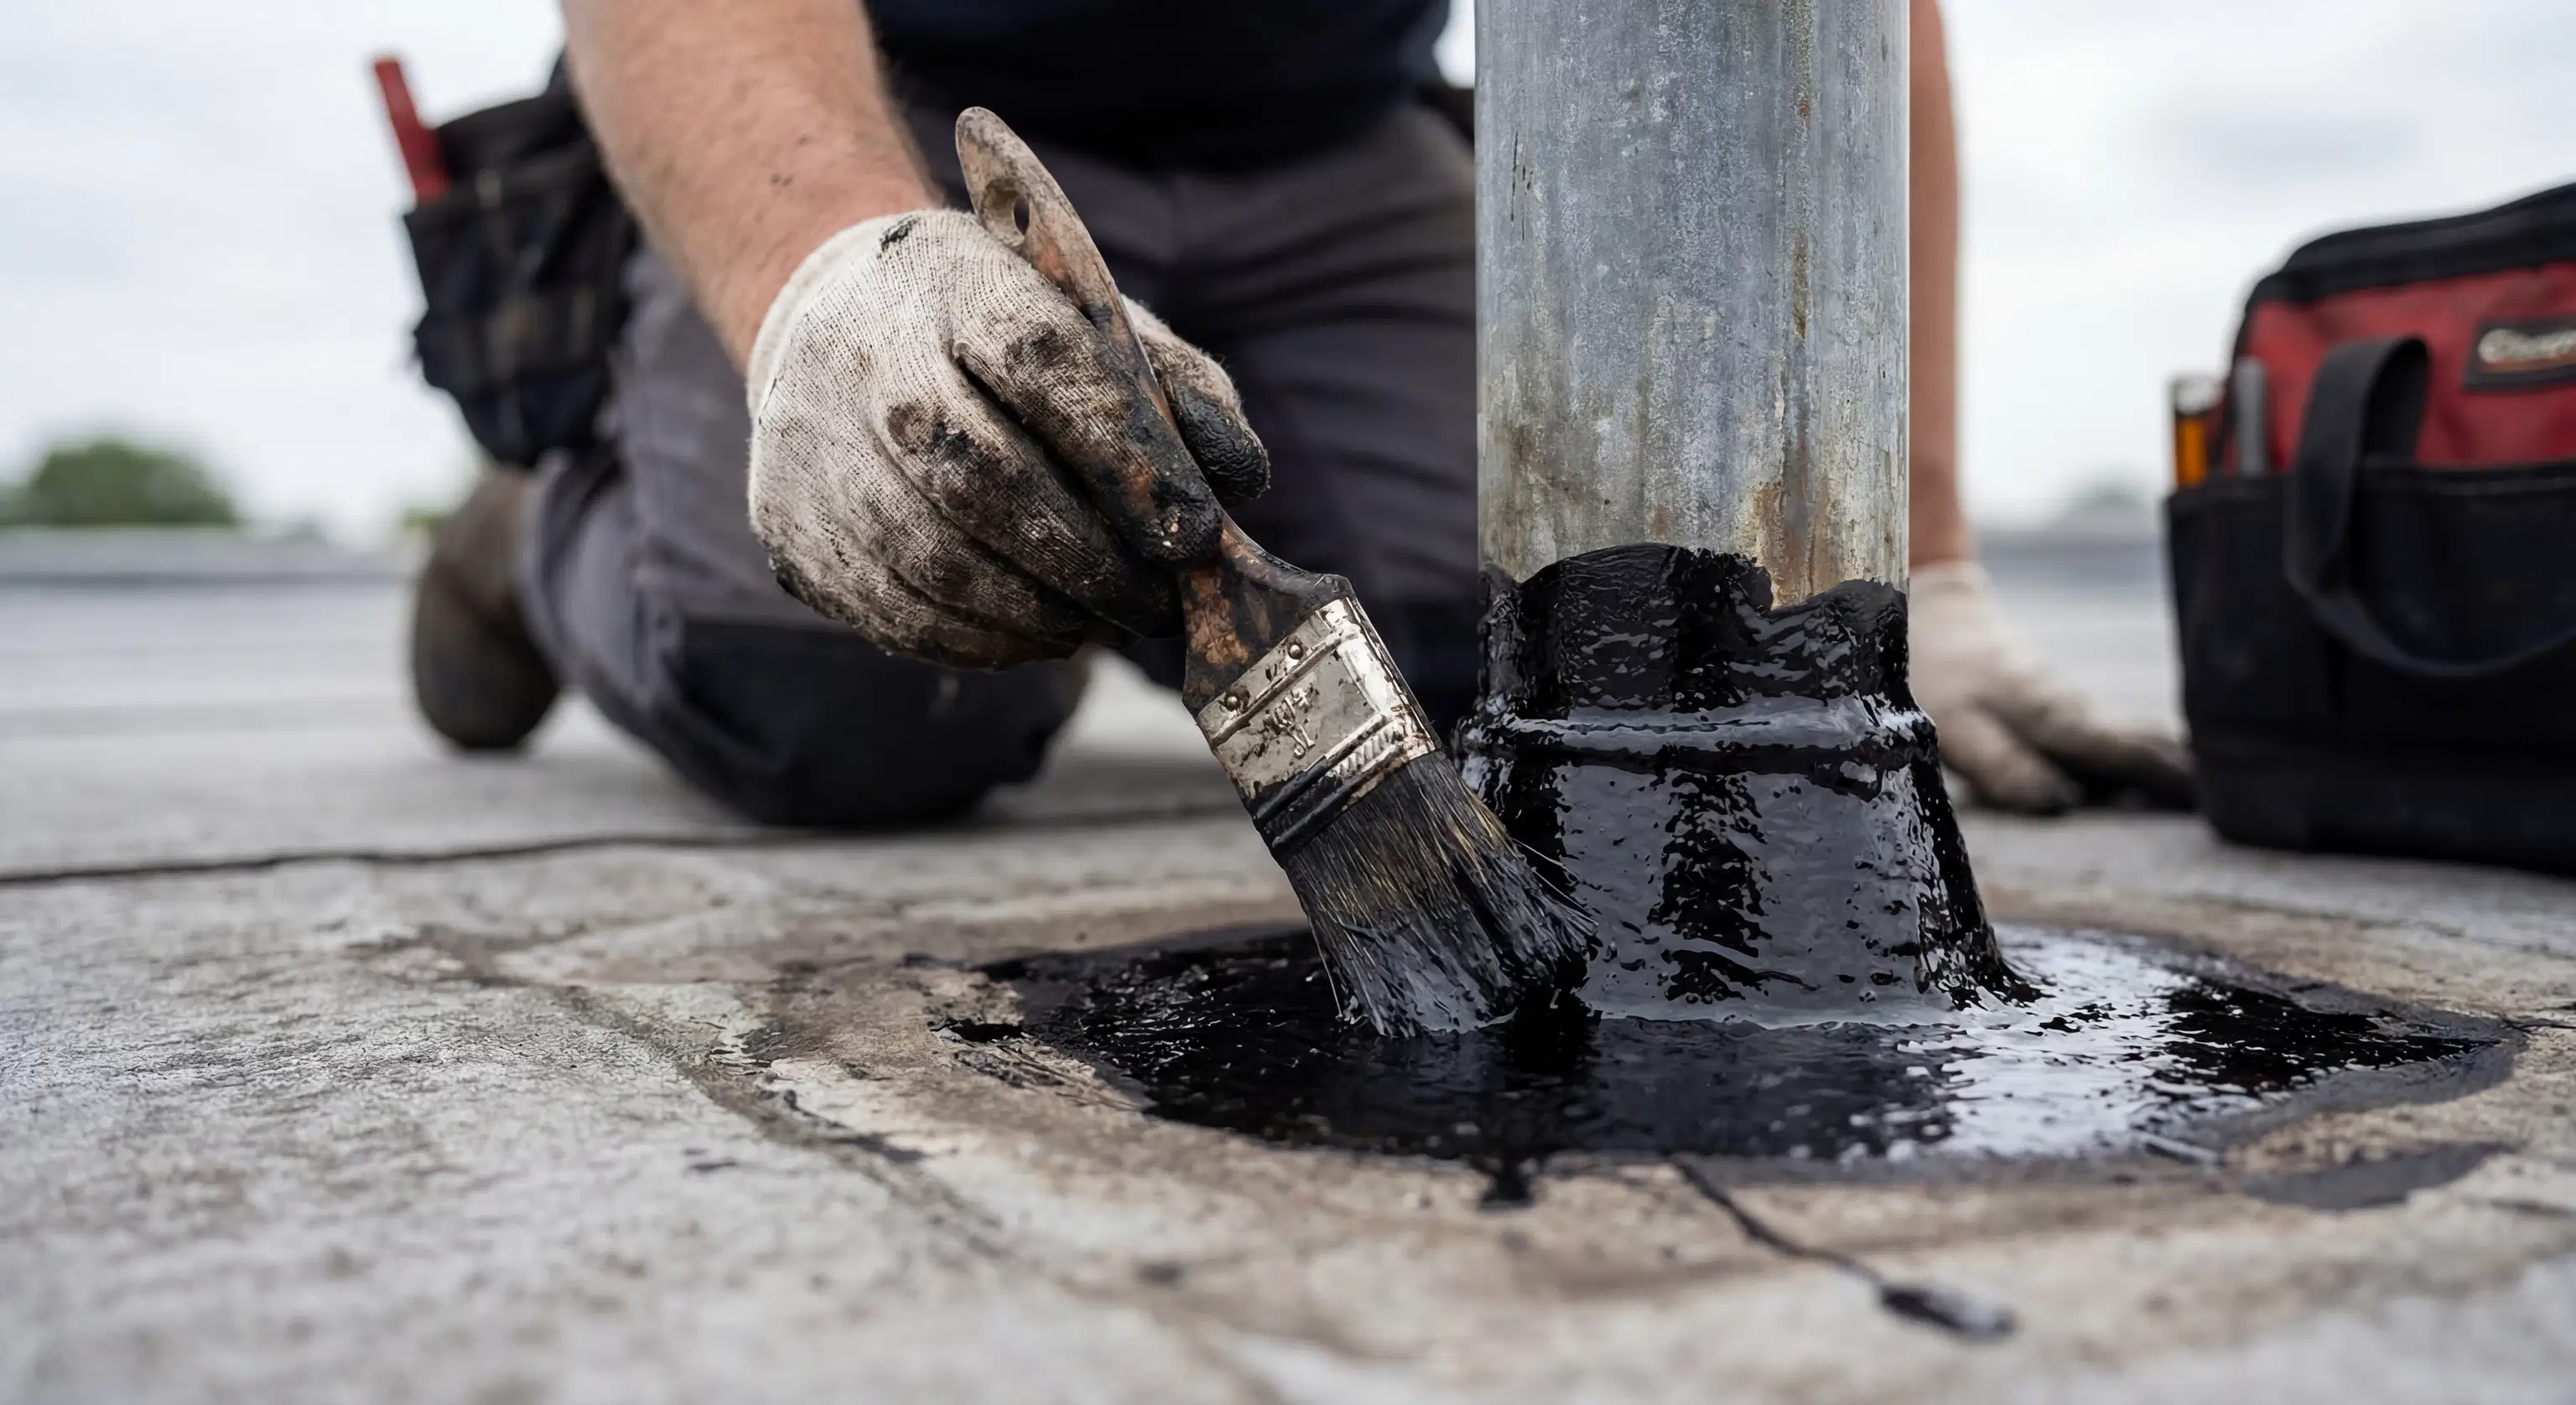
- Repair the Surface: Water can cause drywall to soften or crumble. If the damage is minimal, a quality spackling compound or drywall mud might be sufficient to fill any imperfections. For more significant roof damage repair that has resulted in soft or sagging drywall, the damaged section will need to be cut out and replaced with a new piece. This is crucial for structural integrity and a smooth final surface.
- Sand Smooth: After your patch has fully dried, sand it lightly until it’s perfectly smooth and flush with the surrounding wall or ceiling. The goal is to make the transition between the old and new surfaces completely unnoticeable by touch.
- Apply a Stain-Blocking Primer: This is a non-negotiable step. A standard latex primer will not work. Water stains are notorious for bleeding through layers of paint. You must use a high-quality, shellac-based or oil-based stain-blocking primer specifically designed to seal stains and prevent them from showing through your topcoat. Apply one or two coats, allowing for proper drying time between each.
Step 3: Perfecting the Paint and Finish
With the stain sealed and the surface prepped, you’re ready for the final step. The biggest challenge here is often matching the existing paint color and sheen. Even a slight variation can make the repaired area stick out.
- Finding the Match: The best-case scenario is having leftover paint from the original job. If not, carefully cut a small, one-inch square of paint from the damaged area (before you patch it) and take it to a paint store. They can use a spectrometer to create a custom color match.
- Sheen is Key: Matching the color is only half the battle. You also need to match the sheen (e.g., flat, eggshell, satin). Ceilings are almost always painted with a flat or matte finish because it does an excellent job of hiding minor imperfections.
- Paint Corner to Corner: Even with a perfect match, the new paint may look slightly different from the older, faded paint. For a truly seamless, professional result, the best practice is to paint the entire affected surface, whether it's a full wall or the entire ceiling. This ensures a uniform color and finish that looks intentional, not like a patch.
This final stage is where the transformation happens, turning a once-damaged spot into a pristine part of your home. It’s a detailed process, which is why many homeowners choose to rely on a professional interior painting service to get it just right.
Your Comprehensive Solution from Roof to Room
A water stain is more than an eyesore; it’s the final symptom of a problem that started on your roof. Addressing it properly means handling both the cause and the effect. At Jeffersonville Roofs , we understand that our job isn't finished just because the leak is stopped. We want to help you restore your home completely, ensuring your peace of mind and protecting your property value.
Whether you're dealing with the aftermath of a leak or need a trusted team for your next residential roofing project, we’re here to help. We provide expert roofing services and professional interior painting to see the job through from start to finish. Contact us today for a comprehensive, no-obligation estimate and let us make your Jeffersonville home whole again.